This post is part of edusounds.com.ng’s low-tech-enabled toolkit for remote learning during the Covid-19 global pandemic.
The 12 Steps:
Before Recording:
- Open a new PowerPoint file and save it in a dedicated folder with an easy to remember file name (i.e. How_To_Make_Videos.pptx).
- Prepare your slides for the video lesson.
- Decide if the slides are to be recorded in video or audio format.
During recording:
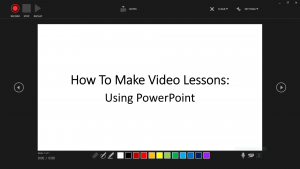
- If the plan is to record on a particular slide or all the slides in the presentation (i.e. like I’m doing in this presentation), click on the “Slide Show” feature and click on “Record Slide Show” in the dropdown menu.
- Click on “Record from Current Slide…” or “Record from Beginning…” from the down pointing arrow of the “Record Slide Show”.
- Activate the Video Recording feature by activating both the microphone and camera icons or deactivate the camera icon for audio recording only.
- Click on the ‘Record Button’ and start recording.
- You can use the onscreen pen or highlighter to explain or emphasise your points.
End of Recording:
- Use the pause button to temporarily stop the recording.
- Use the Stop button to end the recording.
- Save your recording by clicking on File then click on Save.
- Use the Cancel drop down arrow to cancel the whole recording or a selected slide.
I want to say that these are suggestions and they are not set in stone. I wish you best of luck with whatever decision you make with regards to your students’ or children’s education in this very trying period in the history of humanity. At Edusounds, we hope you and your loved ones remain safe and healthy, and please adhere to the advice given by the medical experts and institutions in your place of abode. We pray for Allah’s mercies and forgiveness in this very trying time.


